If you’re reading this, you’ve almost certainly typed bootrec /fixboot into a Command Prompt window only to get the maddening reply: “Access is denied.” I’ve fielded this exact call hundreds of times over my years running a corporate help desk, and here’s the truth most tutorials miss: it’s rarely a permissions problem you can “unlock,” and it’s not a reason to panic. On modern UEFI/GPT machines, Access is denied from /fixboot is usually a signal that you’re telling Windows to write to the wrong place — and the real fix is rebuilding your boot files with a different tool. Let me walk you through it carefully, one checkpoint at a time.
Before You Change Anything
Boot repair tools are powerful, and used blindly they can make a repairable machine unbootable. Read this section before you run anything.
Back up anything irreplaceable first. If you can still get into Windows or access your files, copy documents, photos, and projects to external storage before touching boot files. Boot repair is low-risk when done right, but it only takes one wrong command to complicate your life.
Write down your Windows version and whether it’s 32-bit or 64-bit. You’ll need this if the repair doesn’t stick.
Know your system type: UEFI (with GPT) or Legacy BIOS (with MBR). This article is about UEFI/GPT systems. The steps here assume that’s what you have.
Capture your current state. Take a photo of any error messages with your phone. If the situation changes, that record tells you whether you actually moved forward.
Work from a recovery environment, not from Windows itself. Most boot repair must be done from the Windows Recovery Environment (WinRE) or installation media, because Windows won’t let you rewrite the files that manage startup while it’s running.
Change one thing at a time. After each command, reboot and test. Don’t stack six “fixes” into one session, or you won’t know which one worked — or which one broke something.
Having this problem on your own PC?
Describe what's happening and get a real AI diagnosis in seconds — no account needed.
Confirm You Have This Problem
Before you assume it’s the specific /fixboot issue, confirm you’re actually looking at the right symptoms.
You saw the error message. At a Command Prompt in the recovery environment, you ran bootrec /fixboot and it returned “Access is denied.”
Your machine is UEFI-based. You can confirm this in your system’s firmware/UEFI settings, or you saw a GPT disk layout when you opened the drive in DiskPart or disk management.
You’re repairing a Windows boot problem. The usual signs: your PC startup-repair loops, you get a black screen with no boot menu, or Windows starts but won’t load the operating system.
You have not yet tried to force the issue by running /fixboot repeatedly or overriding a “denied” write.
If you satisfy all four, the fix I’m about to give you is almost certainly relevant. If you’re not sure you’re on a UEFI system, the possible-causes table below will point you to the quickest way to confirm before you do anything.
Possible Causes
| Evidence Observed | Likely Cause | Next Check |
|---|---|---|
bootrec /fixboot returns “Access is denied” on a UEFI/GPT machine | You’re trying to write to a small hidden EFI System Partition (ESP) that /fixboot can’t handle correctly or that isn’t mounted properly | Identify the EFI partition with DiskPart, then use bcdboot to rebuild the boot files instead of /fixboot |
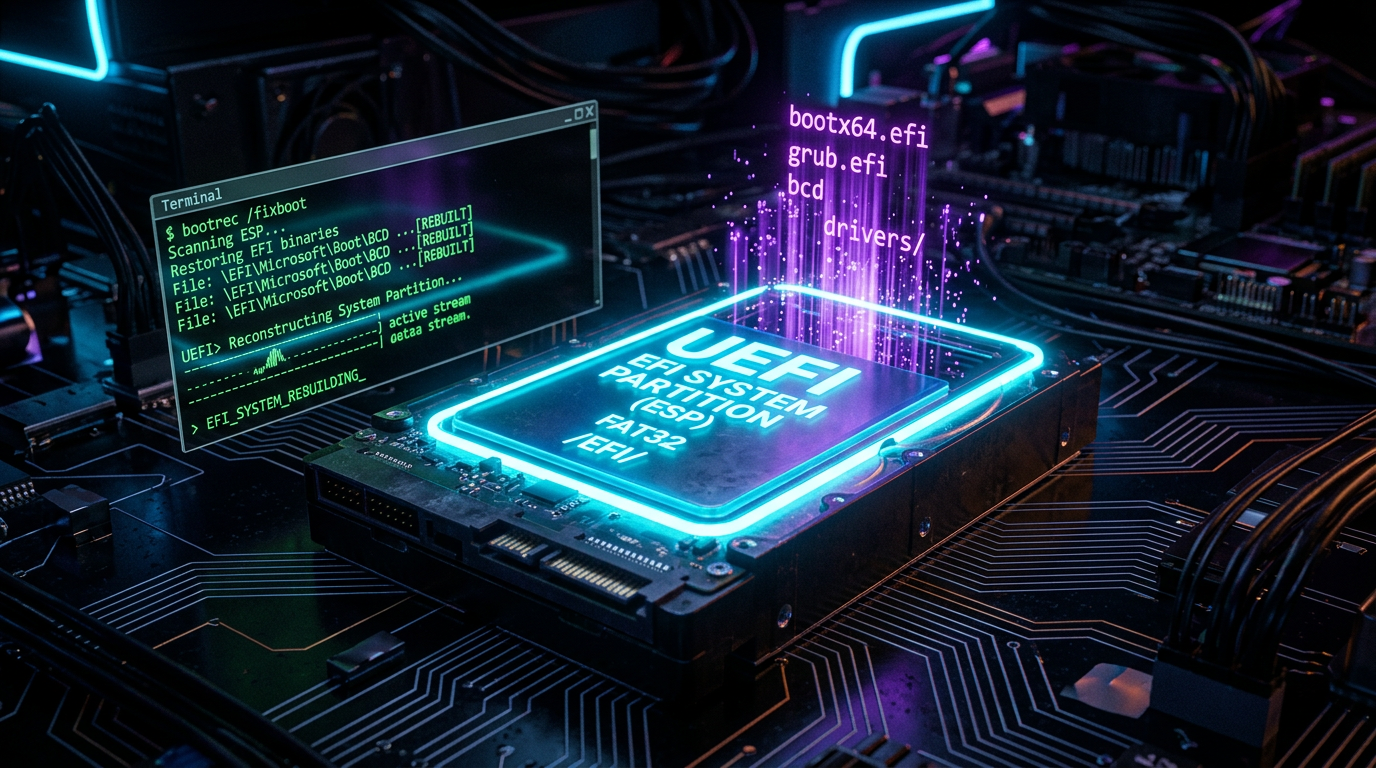
| The drive shows a GPT layout and a ~100–500 MB FAT32 partition with no drive letter | That hidden partition is the EFI System Partition (ESP); it stores the boot manager | Mount it manually (give it a letter) before running bcdboot so the repair targets the right place |
| Startup Repair keeps looping or reports it “couldn’t repair your PC” | Corrupt or missing boot files on the ESP, not a drive-letter problem | Confirm the EFI partition letter, then rebuild with bcdboot; if it still fails, check the BCD store |
| Multiple internal drives are installed | The EFI partition is on a different disk than you think | Run list disk and list partition and carefully note which physical disk holds the ESP |
| Windows boots normally from the USB/installation media but not from the hard drive | Only the boot files are broken; your data is likely intact | Rebuild the boot files, then test a normal restart without the media |
Step-by-Step Diagnostic
I’ll order these from the lowest risk to the highest, and I want you to complete Step 1 through Step 3 first. They’re observation and identification steps — they change nothing on your disk yet, and they give you the map you’ll need for the risky stuff.
Step 1 — Get to a Command Prompt in the Recovery Environment
Boot from your Windows installation media (or the recovery drive), choose your language, and select Repair your computer > Troubleshoot > Advanced options > Command Prompt. If you only have your broken PC and can reach the Advanced Options screen, use that. This is the environment where boot repair is supposed to happen.
Step 2 — Identify Your System Type (Confirm UEFI/GPT)
This is your first checkpoint, and it’s the cheapest thing in the whole process: it tells you whether the instructions that follow even apply. In the Command Prompt, type:
diskpartThen inside the DiskPart prompt, type:
list diskOn a UEFI/GPT system you’ll typically see an asterisk (*) under the “Gpt” column for your disk. If you see that, you are on a UEFI/GPT machine, and /fixboot returning “Access is denied” is the classic sign you need the bcdboot fix ahead. If you do not see a GPT marker, your machine is probably Legacy BIOS and a different repair path applies.
Step 3 — Locate the EFI System Partition
Still inside DiskPart, select your disk and list its partitions so you can spot the EFI System Partition:
select disk 0
list partition
Look for a partition roughly 100–500 MB in size with the type System. That is your EFI System Partition (ESP). Write down its partition number — you’ll need it in the next step. If you have more than one physical disk, run list disk, then select disk 1 and list partition as well, and note which disk holds the System partition. Getting this wrong is the single most common reason boot repair makes things worse, so pause here and double-check before moving on.
Checkpoint: Before you go any further, confirm in your own notes which disk and which partition number is the EFI System Partition. Do not proceed until that partition is unambiguously identified. The single most common reason boot repair makes things worse is repairing the wrong partition — and this checkpoint is your safety net.
You are partway through the diagnostic steps so far. Still unsure what's causing the issue? Run a free AI diagnosis at DiagnoseMyPc.com — no download required, 5 free analyses per month.
Step 4 — Assign a Drive Letter to the EFI Partition (A Change, Done Carefully)
Up to now you’ve only looked. This is where you actually modify something, but it’s small and reversible. The EFI partition is hidden and has no drive letter, so the repair tools can’t see it. Give it a temporary letter inside DiskPart:
select partition <your-partition-number>
assign letter=S
Replace <your-partition-number> with the number you wrote down in Step 3. If the letter S is already taken, pick another unused one. After you assign it, type exit to leave DiskPart.
Checkpoint: Type `S:` then `dir` to confirm you can actually see the EFI partition’s files (you should see a folder named `EFI`). If you do, you’ve mounted the right partition and the next command has a real target. If you see an error or no `EFI` folder, go back to Step 3 and re-identify the partition before touching anything else.
Step 5 — Rebuild the Boot Files with bcdboot
This is the real fix. Instead of fighting /fixboot, use bcdboot to recreate the boot files on the mounted EFI partition. You’ll need your Windows drive letter too. Typically Windows is on C:, but in the recovery environment drive letters can shift, so make sure you know which letter holds your Windows folder. Then run:
bcdboot C:\Windows /s S: /f UEFIHere C:\Windows points to your installed Windows, /s S: targets the mounted EFI partition, and /f UEFI tells it to write the UEFI boot files. If your Windows letter is different, adjust it. bcdboot will recreate the boot manager files, and you should see a “Boot files successfully created” message.
If it still fails with an error, it usually means you targeted the wrong partition letter. Go back to Step 3 and re-confirm, because the EFI partition is the one partition bcdboot wants to write to.
Step 6 — Reboot and Verify
Exit the Command Prompt, remove any USB media, and restart normally. Don’t hold your breath and don’t assume — let the machine boot and see what happens. Three outcomes are possible:
It boots normally → you’re done. Skip to “How to Know It’s Fixed.”
It boots but the error is different → the boot files improved; run Start-up Repair once more.
It still fails → the boot files were fine and the problem may be elsewhere (see “When to Stop and Get Help”).
Step 7 — If Needed, Run Startup Repair from the Recovery Environment
Only reach for this after bcdboot, and only if the machine still won’t boot on its own. Back at the Recovery Environment, choose Troubleshoot > Advanced options > Startup Repair and let Windows scan. This is a lightweight, built-in fix that handles some remaining boot-configuration errors. Run it once, then test boot again.
Dealing with this one-time? The $4.99 Fix Pass gives you 7 days of full Pro access — no subscription needed.
How to Know It’s Fixed
Your repair worked when all of the following are true:
You restarted without any installation or recovery media plugged in.
Windows loaded to the login screen or desktop without the black screen, startup-repair loop, or boot menu error.
When you reopen Command Prompt (in Windows, or back in the recovery environment if you want to confirm) and run the diagnostic check below, you see no boot-configuration error.
The machine has restarted a second time successfully — some flaky repairs fail on the second boot, so always do a clean restart of your own before you call it fixed.
Here’s a native Windows command that confirms healthy boot configuration from an elevated Command Prompt:
bcdedit /enumIf it lists your Windows Boot Loader entry without dumping errors, your boot files are in place. And if you mounted the EFI partition with a letter during this repair, consider removing that drive letter afterward (diskpart > select partition <n> > remove letter=S) to keep the system tidy — though leaving it assigned is harmless.
When to Stop and Get Help
You have my honest guidance now: when to stop on your own.
Stop if the physical drive is failing. If SMART tests, disk-management tools, or persistent “disk read error” messages point to a failing drive, no boot-file repair will save you. Focus on data recovery first.
Stop if you’re not certain which partition is the EFI partition. On a single-drive laptop this is usually obvious, but on RAID arrays or multi-drive systems it isn’t. Guessing here is the highest-risk move in this entire article.
Stop if Startup Repair and bcdboot both fail. At that point the boot loader isn’t the whole story, and further guessing risks a clean install of what’s left.
Stop if your data isn’t backed up and you’re about to reinstall. The moment you consider wiping the disk, stop and pull your files first.
Call a professional or use a data-recovery-focused approach if any of those apply. There is no shame in handing over a subtle firmware/RAID situation to someone with the right hardware — it’s the smart play, not a failure.
Found this helpful?
Share it with someone who could use it.
DiagnoseMyPC Team
Expert PC diagnostics and troubleshooting guides to help you keep your Windows system running smoothly.
Get the free Windows Troubleshooting Checklist
Subscribe and instantly download our 50-point Windows troubleshooting checklist — plus practical fixes, performance tips, and security alerts from the DiagnoseMyPC team.
No spam. Unsubscribe anytime.
Frequently Asked Questions
How do I find out exactly what's causing my PC problem?
The fastest way is to let an AI analyzer read your actual system data instead of guessing. You can paste an error message, upload a screenshot, or run a quick diagnostic and get the specific cause ranked by severity. Try a free AI diagnosis at diagnosemypc.com — no account needed to get started.
Is it safe to run fix commands on my own PC?
Yes, as long as you understand what each command does. PC Diagnostic Analyzer always shows you the exact fix script first so you stay in full control of what runs on your computer — nothing is executed automatically without your review.
Do I need to reinstall Windows to fix this?
Usually not. Most performance, crash, driver, and startup problems can be fixed with targeted steps once you know the real cause. A full reinstall should be a last resort — start with a proper diagnosis before wiping anything.
When should I take my PC to a repair shop instead?
If a diagnosis points to failing hardware (a dying drive, bad RAM, or overheating components) and you're not comfortable opening the case, a shop is worth it. For software, driver, and configuration issues, you can almost always fix it yourself with step-by-step guidance.