How to Optimize RAM Usage for a Faster Windows PC
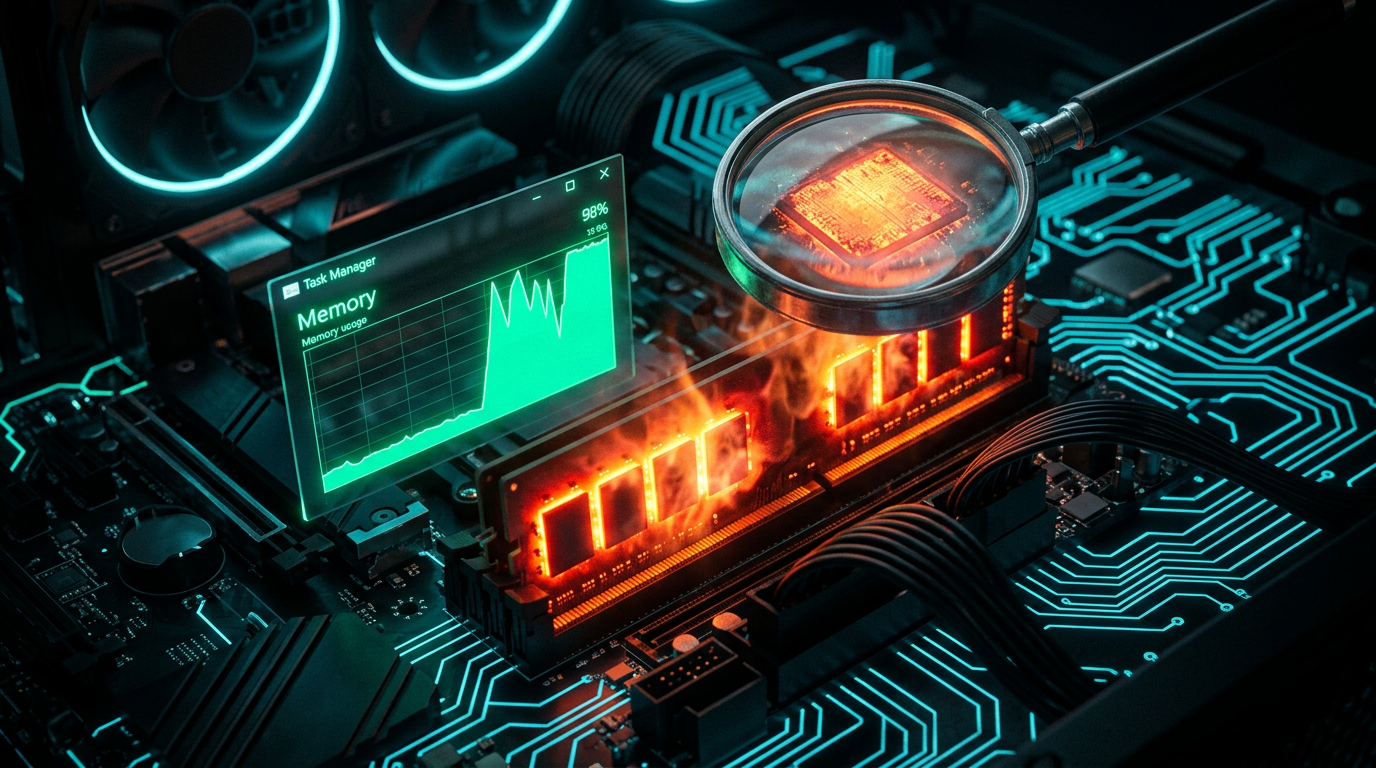
If your PC feels sluggish even after a fresh reboot, the culprit is often memory — specifically, how Windows allocates and manages RAM. Whether you have 8 GB or 32 GB installed, poor RAM hygiene can drag down every task from web browsing to video editing. In this guide you will learn exactly how to diagnose memory pressure, reclaim wasted RAM, and keep your system running at its best.
Why RAM Matters More Than You Think
RAM (Random Access Memory) is your PC's short-term workspace. Every open application, browser tab, and background service claims a slice of it. When available RAM runs low, Windows compensates by using the page file — a section of your hard drive that acts as overflow memory. Disk access is orders of magnitude slower than RAM, so the moment Windows starts paging heavily, you will feel it: stuttering, delayed responses, and programs that take forever to switch.
The good news is that most RAM problems are fixable without buying new hardware.
Step 1: Check Your Current RAM Usage
Before making any changes, get a clear picture of where your memory is going.
Press Ctrl + Shift + Esc to open Task Manager.
Click the Performance tab, then select Memory.
Note the In Use and Available figures at the bottom.
If "In Use" consistently exceeds 80 % of your total RAM during normal tasks, you have a genuine memory pressure problem. You can also open a PowerShell window and run:
Get-Process | Sort-Object WorkingSet -Descending | Select-Object -First 15 Name, WorkingSetThis lists the top 15 processes by memory consumption, giving you an instant hit-list of offenders.
Step 2: Disable Startup Programs That Hog Memory
Many applications insert themselves into the Windows startup sequence and quietly consume RAM from the moment you log in.
Open Task Manager (Ctrl + Shift + Esc) and click the Startup tab.
Sort by Startup impact (High → Low).
Right-click any program you do not need immediately on boot and choose Disable.
Common culprits include:
Spotify and other media players
OneDrive and cloud-sync clients (if you do not need real-time sync)
Discord and communication apps
Adobe updaters and creative-suite helpers
Disabling startup items does not uninstall them — they still launch when you open them manually.
Step 3: Adjust the Virtual Memory (Page File) Settings
Windows manages the page file automatically by default, but on systems with limited RAM or slow HDDs, a manual configuration can reduce stuttering.
Press Win + R, type sysdm.cpl, and press Enter.
Go to Advanced → Performance → Settings → Advanced → Virtual Memory → Change.
Uncheck Automatically manage paging file size for all drives.
Select your system drive (usually C:), choose Custom size, and set:
- Initial size: 1.5× your installed RAM in MB (e.g., 12288 MB for 8 GB RAM)
- Maximum size: 3× your installed RAM in MB (e.g., 24576 MB for 8 GB RAM)
Click Set, then OK, and restart.
If your PC has an SSD, the page file performs much better than on a spinning disk — so keeping it on the SSD is ideal.
Step 4: Enable Memory Compression (Windows 10/11)
Windows 10 and 11 include a built-in Memory Compression feature that compresses infrequently accessed memory pages in RAM rather than immediately writing them to disk. This is usually enabled by default, but you can verify it:
Get-MMAgentLook for MemoryCompression : True. If it reads False, enable it with:
Enable-MMAgent -MemoryCompressionRestart your PC for the change to take effect. Memory compression can effectively give you 10–20 % more usable RAM on a busy system.
Step 5: Audit and Reduce Browser Tab Overload
Web browsers are notorious RAM consumers. Google Chrome, Microsoft Edge, and Firefox each spawn separate processes per tab, and those processes add up fast.
Use tab suspension extensions such as The Great Suspender (Chrome/Edge) or Auto Tab Discard (Firefox) to freeze inactive tabs.
Limit extensions: each browser extension runs its own background process. Audit yours via chrome://extensions or edge://extensions and remove anything you do not actively use.
Enable hardware acceleration in browser settings so the GPU handles rendering instead of the CPU/RAM pipeline.
Step 6: Free Up RAM with a Quick Flush
Windows sometimes holds onto memory that applications have already released. Simply open and close a memory-intensive application and Windows will reclaim the freed pages automatically. For a more thorough approach, Microsoft's free RAMMap tool from Sysinternals lets you empty the standby list on demand:
RAMMAP.exe -EtThis forces Windows to reassign cached memory to active processes without requiring a reboot.
Step 7: Run a Full PC Diagnostic
Sometimes RAM issues are not software-related at all — a failing memory module, mismatched DIMM speeds, or incorrect XMP/EXPO profiles in the BIOS can all cause instability and apparent memory shortages. DiagnoseMyPc can scan your system in minutes and flag hardware-level memory anomalies, driver conflicts, and resource bottlenecks that manual inspection would miss.
Running DiagnoseMyPc before and after applying the software tweaks above gives you a clear before-and-after benchmark, so you know exactly how much headroom you have recovered.
You can also use the built-in Windows Memory Diagnostic tool as a quick sanity check:
mdsched.exeChoose Restart now and check for problems. Windows will run a memory test on the next boot and report any hardware faults.
Step 8: Consider a RAM Upgrade — But Only If Needed
If your system still runs above 85 % RAM utilization after all the above tweaks, a hardware upgrade may be warranted. Before purchasing, check msinfo32 for your installed memory, verify your motherboard's maximum supported RAM, and ensure you install matched sticks in dual-channel slots for the best bandwidth.
Quick-Reference Checklist
[ ] Check Task Manager → Memory for baseline usage
[ ] Disable high-impact startup programs
[ ] Tune the page file for your drive type
[ ] Verify Memory Compression is enabled
[ ] Suspend idle browser tabs and prune extensions
[ ] Run Windows Memory Diagnostic (mdsched.exe) to rule out hardware faults
[ ] Use DiagnoseMyPc for a comprehensive system health report
Take Action Today
Optimizing RAM usage is one of the highest-impact, lowest-cost performance improvements you can make to a Windows PC. Most of the steps above take under five minutes each and require no third-party software. Start with the Task Manager audit, work through the startup and browser tweaks, and then let DiagnoseMyPc give you a full-system health snapshot to confirm everything is running as it should. Your PC will thank you — and so will your productivity.
Ready to see exactly what is slowing your system down? Try the free diagnostic scan at DiagnoseMyPc and get a detailed report in minutes — no technical expertise required.
Found this helpful?
Share it with someone who could use it.
DiagnoseMyPC Team
Expert PC diagnostics and troubleshooting guides to help you keep your Windows system running smoothly.
Get the free Windows Troubleshooting Checklist
Subscribe and instantly download our 50-point Windows troubleshooting checklist — plus practical fixes, performance tips, and security alerts from the DiagnoseMyPC team.
No spam. Unsubscribe anytime.
Frequently Asked Questions
Why is my PC still slow after I cleaned it up?
Generic cleanup often misses the real bottleneck — a background process pinning your disk, a driver conflict, or low available RAM. An AI diagnosis reads your actual system data to pinpoint what's actually slowing you down instead of deleting files at random. Run a free scan at diagnosemypc.com.
Will adding more RAM speed up my computer?
It helps if you're regularly running out of memory (high RAM usage, lots of open tabs or apps). But if the bottleneck is a slow hard drive, a startup bloat problem, or a background process, more RAM won't fix it. Diagnose first, then upgrade.
How often should I check my PC's performance?
A quick monthly check is enough for most people, plus a scan any time you notice new slowdowns, crashes, or after a big Windows update. Catching issues early keeps small problems from turning into crashes or data loss.
Is a free performance scan actually useful?
Yes — a free AI scan gives you a real, prioritized list of what's wrong with your system. For one-click fix scripts and detailed step-by-step guides, there's an affordable $4.99 Fix Pass, but the diagnosis itself is free.