How to Optimize SSD Performance on Your Windows PC
Solid-state drives have transformed the PC experience — boot times measured in seconds, near-instant app launches, and silent operation. But even the fastest NVMe or SATA SSD can underperform when Windows settings, firmware, or usage habits work against it. This guide walks you through every key optimization so your drive stays quick, healthy, and long-lived.
Before diving in, run a quick health check with DiagnoseMyPc. Its storage analysis module reads S.M.A.R.T. data, flags worn-out cells, and surfaces misconfigurations — giving you a clear baseline before you start tweaking.
Having this problem on your own PC?
Describe what's happening and get a real AI diagnosis in seconds — no account needed.
1. Confirm TRIM Is Enabled
TRIM is the single most important SSD setting. It tells Windows to wipe deleted data blocks immediately, so the drive never has to erase-before-write during normal use — a process that would otherwise slow writes significantly.
Open an elevated Command Prompt and run:
fsutil behavior query DisableDeleteNotifyA result of 0 means TRIM is active (good). A result of 1 means it is disabled. Re-enable it with:
fsutil behavior set DisableDeleteNotify 0Windows 10 and 11 enable TRIM by default for SSDs, but third-party disk utilities or older upgrade paths can accidentally turn it off.
2. Disable Disk Defragmentation for SSDs
Defragmentation is designed for spinning hard drives. Running it on an SSD wastes write cycles without any speed benefit — and write cycles are finite.
Press Win + S, type Defragment and Optimize Drives, and open the tool.
Select your SSD and click Change settings.
Confirm the schedule is set to Weekly (Windows automatically runs TRIM retrim, not defrag, on SSDs — this is correct behavior).
If the drive type shows Hard disk drive instead of Solid state drive, Windows may be misidentifying it; update your storage controller driver.
3. Enable AHCI Mode in BIOS
AHCI (Advanced Host Controller Interface) unlocks native command queuing and other SSD features. If your system is running in legacy IDE mode, you are leaving significant performance on the table.
Restart and enter BIOS/UEFI (usually Del, F2, or F10 at boot).
Navigate to Storage Configuration or SATA Mode.
Switch from IDE to AHCI.
Save and exit.
> Warning: Changing AHCI mode on an already-installed Windows system can cause a boot failure. Follow Microsoft's registry fix (set HKEY_LOCAL_MACHINE\SYSTEM\CurrentControlSet\Services\storahci\Start to 0) before rebooting to avoid this.
4. Keep Firmware Up to Date
SSD manufacturers regularly release firmware updates that fix bugs, improve write algorithms, and patch vulnerabilities. Unlike spinning drives, SSDs are essentially embedded computers — firmware matters.
Visit your drive manufacturer's website (Samsung, WD, Crucial, Kingston, etc.) and download their management utility.
Samsung Magician, WD Dashboard, and Crucial Storage Executive all include one-click firmware update tools.
Always back up critical data before a firmware update, even though failures are rare.
5. Adjust Power Settings to Prevent Throttling
Windows power plans can aggressively throttle SSD speed to save energy — especially on laptops.
Open Control Panel → Power Options.
Select High Performance or Balanced (avoid Power Saver for desktop use).
Click Change plan settings → Change advanced power settings.
Expand Hard disk → Turn off hard disk after and set it to Never for SSDs.
For NVMe drives, also check:
Device Manager → Disk drives → [Your NVMe drive] → Properties → Power ManagementUncheck Allow the computer to turn off this device to save power.
6. Disable Superfetch and Prefetch (Optional for High-RAM Systems)
Superfetch (called SysMain in Windows 10/11) preloads frequently used apps into RAM. On HDDs this is a major speed boost; on SSDs it adds unnecessary write overhead because the drive is already fast enough.
If you have 16 GB or more of RAM, consider disabling it:
Press Win + R, type services.msc, and press Enter.
Find SysMain, double-click it, set Startup type to Disabled, and click Stop.
Alternatively, via PowerShell:
Stop-Service -Name SysMain -Force
Set-Service -Name SysMain -StartupType Disabled
Note: On systems with 8 GB or less RAM, keeping SysMain enabled is usually beneficial even with an SSD.
7. Monitor Drive Health and Temperature
SSDs run hot under sustained workloads, and thermal throttling can cut sequential speeds by 50% or more. Keep an eye on:
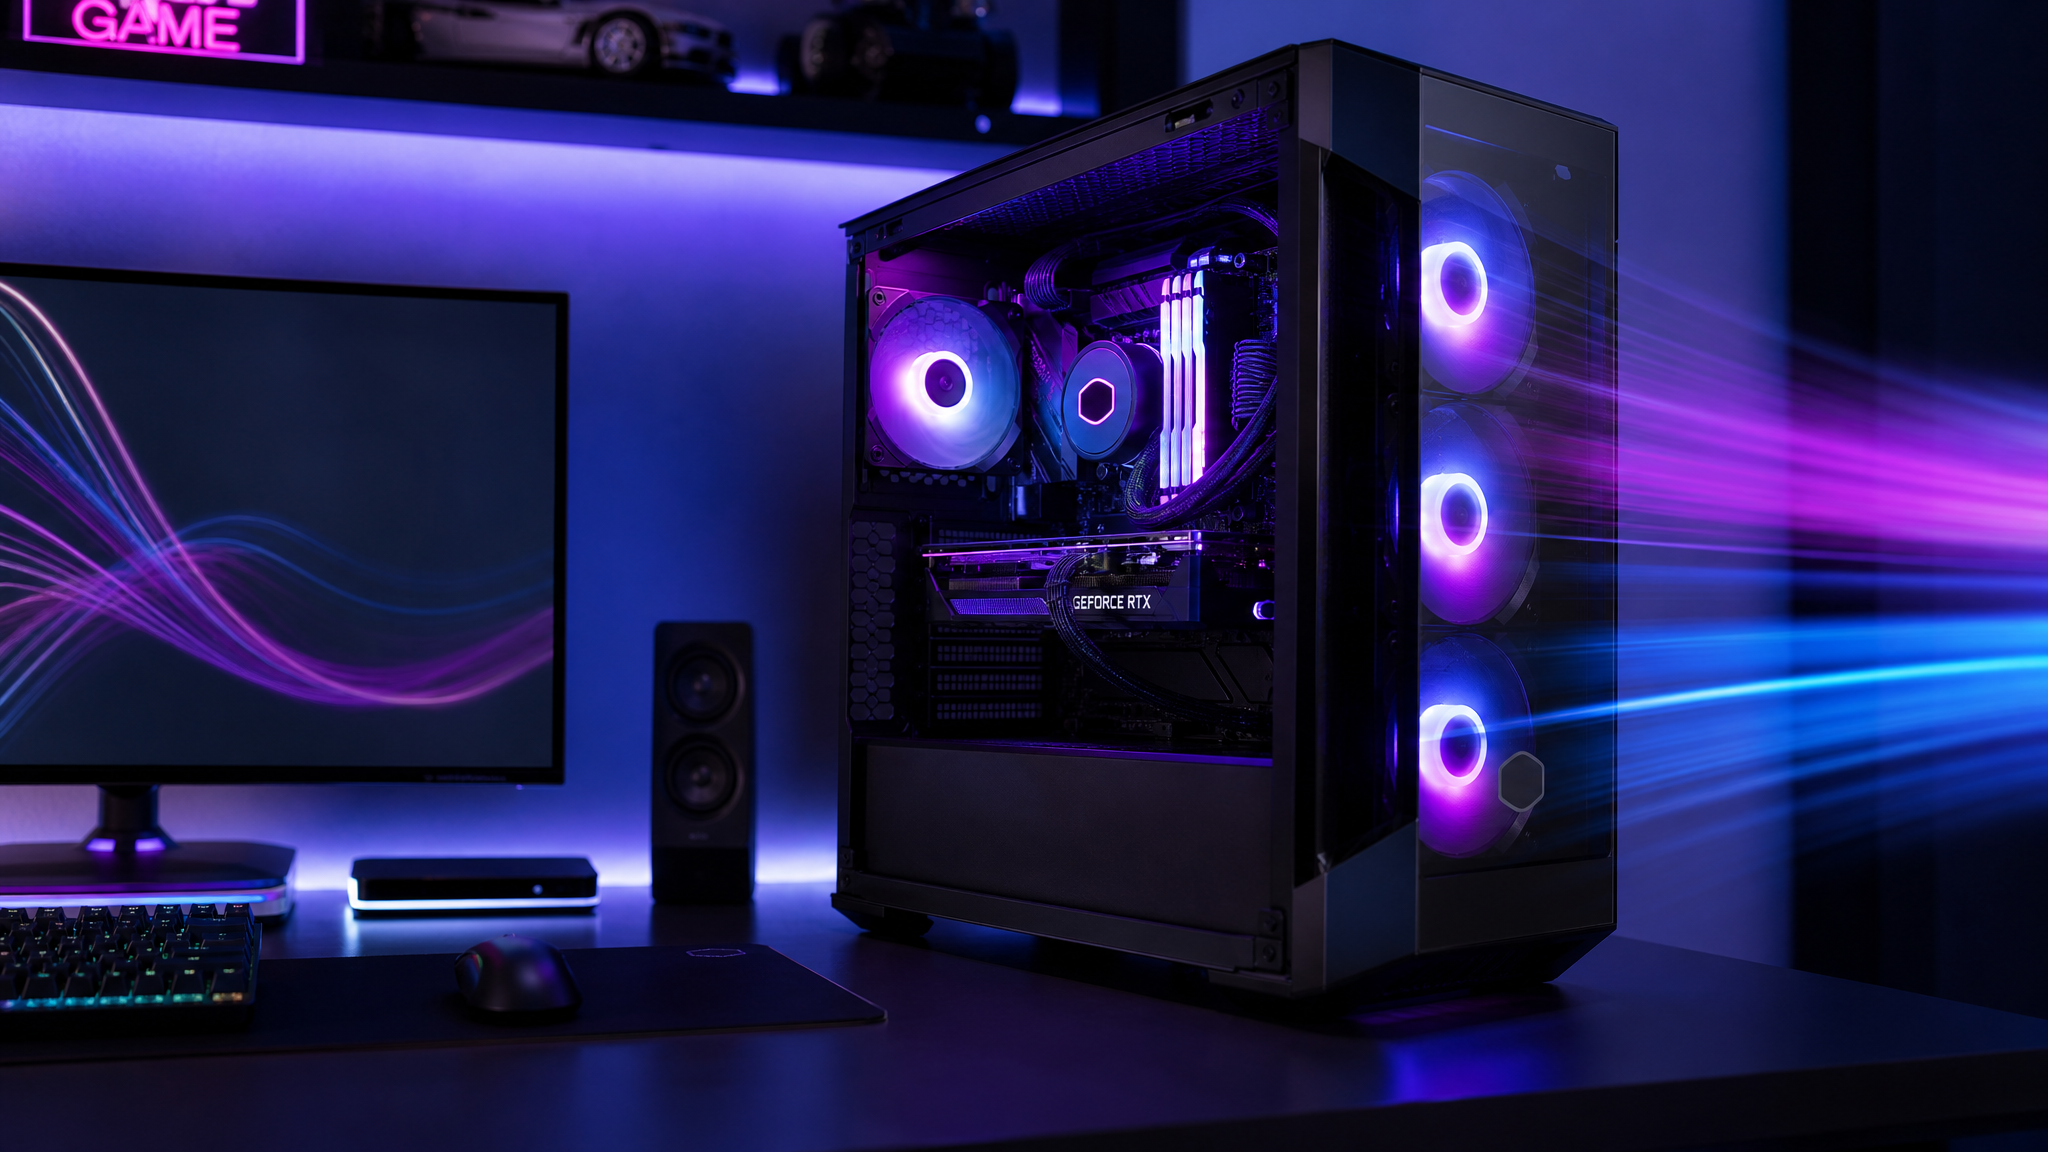
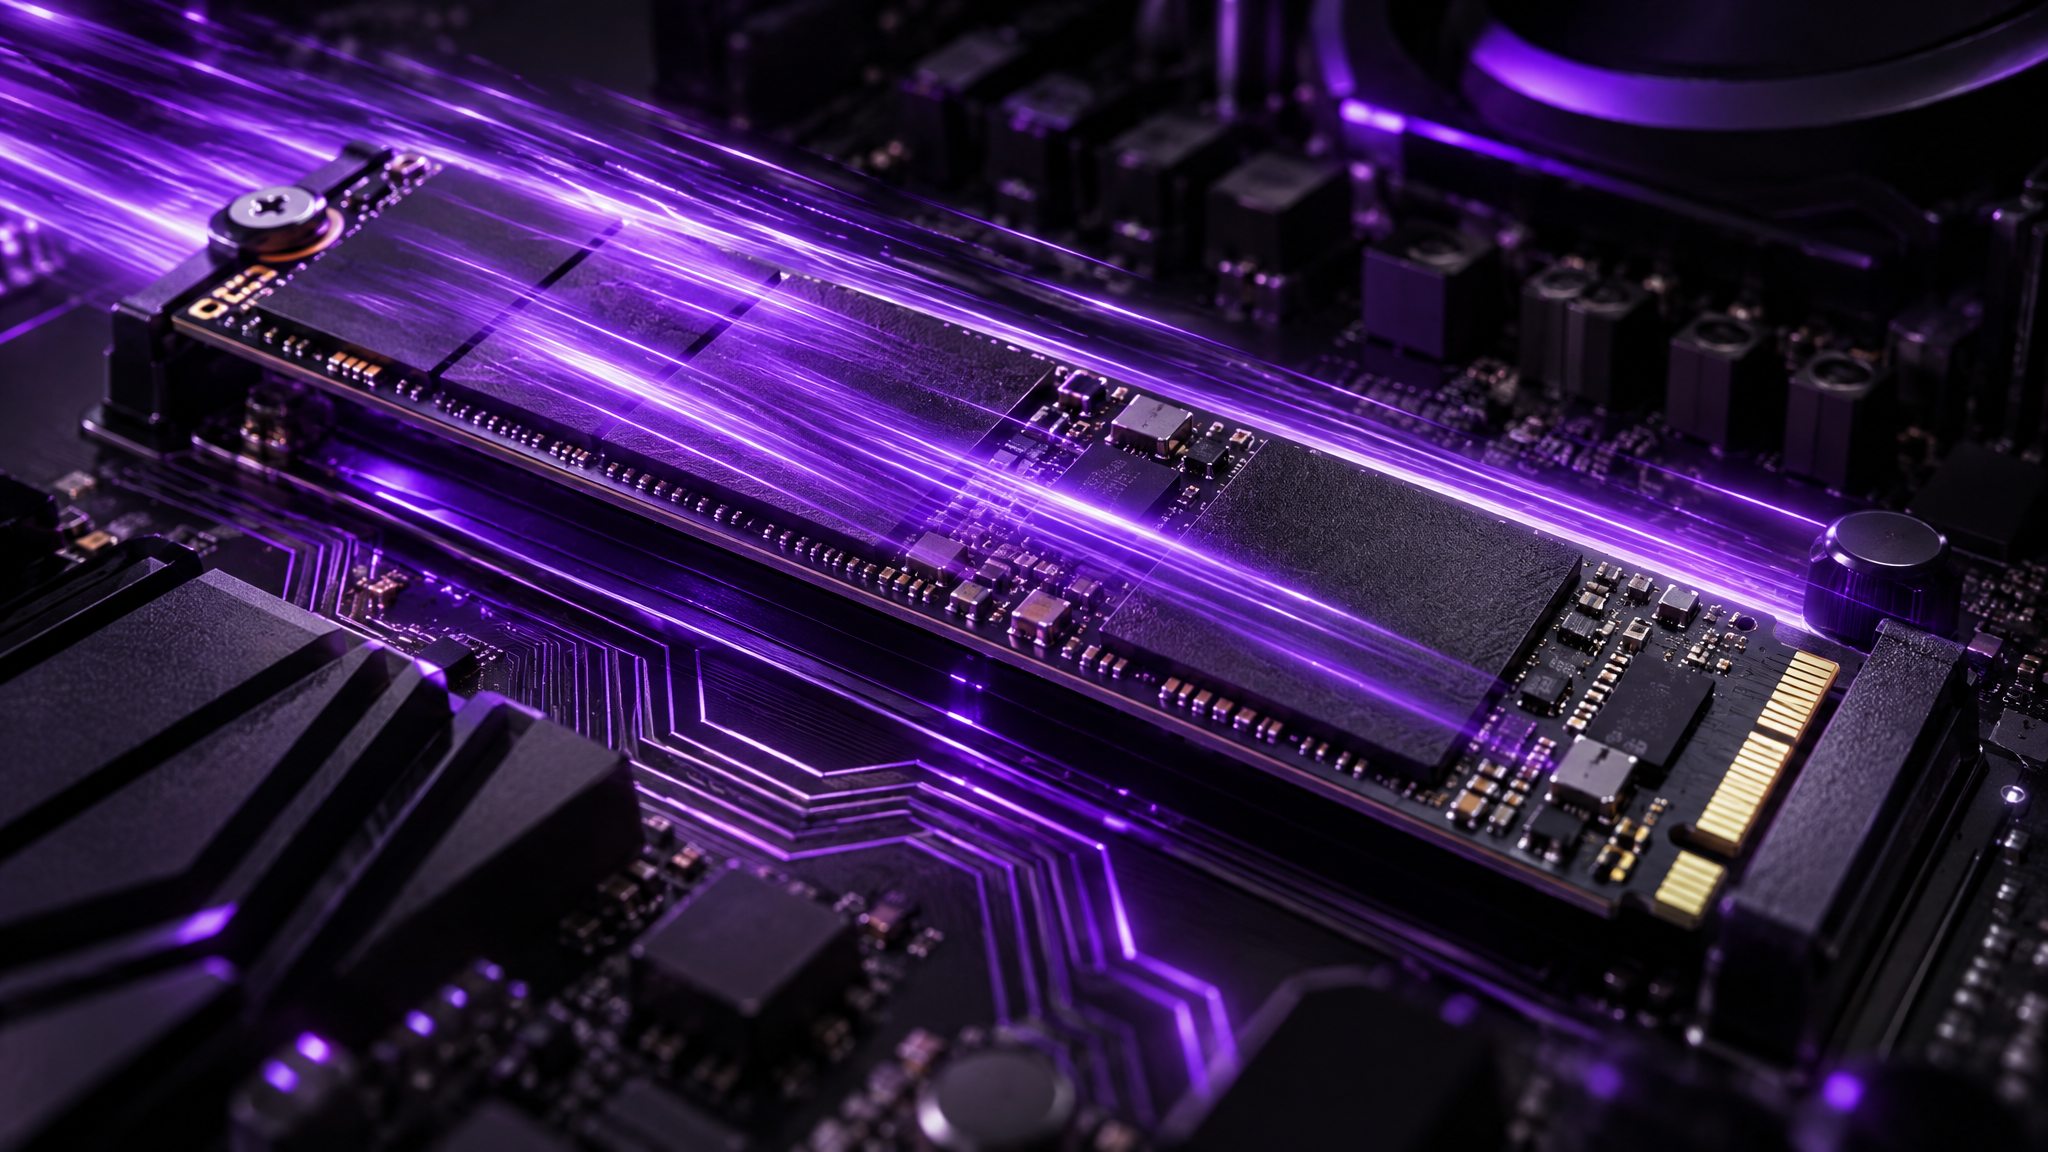
Drive temperature — most NVMe drives throttle above 70°C. Ensure your case has adequate airflow, and consider an M.2 heatsink if temperatures are consistently high.
Wear level / TBW (Terabytes Written) — every SSD has a rated endurance. Monitoring wear level tells you how much life remains.
Reallocated sector count — a non-zero value signals failing cells that need attention.
DiagnoseMyPc reads all of these S.M.A.R.T. attributes automatically and flags anything outside safe thresholds, so you get an instant health report without manually interpreting raw hex values.
8. Leave 10–20% Free Space
SSDs use over-provisioning — reserved space the controller uses for wear leveling and garbage collection. When a drive fills up past 80–90% capacity, the controller has less room to maneuver, and write speeds can drop noticeably.
Keep at least 10–20% of total capacity free at all times.
If your drive is consistently near full, consider offloading large media files to an external drive or cloud storage.
Use fsutil volume diskfree C: to check free space from the command line.
9. Enable Write Caching
Windows write caching buffers disk writes in RAM before committing them to the SSD, improving burst write performance.
Open Device Manager → Disk drives.
Right-click your SSD and select Properties.
Go to the Policies tab.
Check Enable write caching on the device.
> Only enable this if your system has a UPS or reliable power. A sudden power loss with write caching enabled can corrupt recently written data.
Quick Optimization Checklist
TRIM enabled — fsutil behavior query DisableDeleteNotify returns 0
Defrag schedule confirmed as retrim-only for SSDs
AHCI mode active in BIOS
Firmware up to date via manufacturer utility
Power plan set to Balanced or High Performance
SysMain disabled (optional, 16 GB+ RAM systems)
Drive temperature below 70°C under load
Free space above 15% of total capacity
Write caching enabled (with stable power supply)
Take the Guesswork Out of SSD Optimization
Manually checking every setting across BIOS, Device Manager, and the command line takes time — and it is easy to miss something. DiagnoseMyPc automates the entire process: it scans your storage configuration, reads S.M.A.R.T. health data, checks power settings, and delivers a prioritized list of exactly what needs fixing on your specific system.
Try the free diagnostic today at diagnosemypc.com and find out in minutes whether your SSD is running at its true potential — or quietly holding your PC back.
Found this helpful?
Share it with someone who could use it.
DiagnoseMyPC Team
Expert PC diagnostics and troubleshooting guides to help you keep your Windows system running smoothly.
Get the free Windows Troubleshooting Checklist
Subscribe and instantly download our 50-point Windows troubleshooting checklist — plus practical fixes, performance tips, and security alerts from the DiagnoseMyPC team.
No spam. Unsubscribe anytime.
Frequently Asked Questions
Why is my PC still slow after I cleaned it up?
Generic cleanup often misses the real bottleneck — a background process pinning your disk, a driver conflict, or low available RAM. An AI diagnosis reads your actual system data to pinpoint what's actually slowing you down instead of deleting files at random. Run a free scan at diagnosemypc.com.
Will adding more RAM speed up my computer?
It helps if you're regularly running out of memory (high RAM usage, lots of open tabs or apps). But if the bottleneck is a slow hard drive, a startup bloat problem, or a background process, more RAM won't fix it. Diagnose first, then upgrade.
How often should I check my PC's performance?
A quick monthly check is enough for most people, plus a scan any time you notice new slowdowns, crashes, or after a big Windows update. Catching issues early keeps small problems from turning into crashes or data loss.
Is a free performance scan actually useful?
Yes — a free AI scan gives you a real, prioritized list of what's wrong with your system. For one-click fix scripts and detailed step-by-step guides, there's an affordable $4.99 Fix Pass, but the diagnosis itself is free.