Why CPU Temperature Matters for PC Performance
Your processor is the heart of your computer, and like any engine, it generates heat during operation. When that heat isn't managed properly, your PC pays the price — sluggish performance, unexpected shutdowns, and in severe cases, permanent hardware damage. Understanding and controlling CPU temperature is one of the most impactful things you can do to maintain a fast, reliable system.
Modern CPUs are designed to throttle their speed automatically when temperatures climb too high — a safety mechanism called **thermal throttling**. While this protects the chip, it also means your PC slows down precisely when you need it most. Keeping temperatures in check ensures your processor runs at its rated speed without compromise.
Having this problem on your own PC?
Describe what's happening and get a real AI diagnosis in seconds — no account needed.
What Are Safe CPU Temperature Ranges?
Temperature thresholds vary by processor, but general guidelines apply to most modern CPUs:
Idle (desktop, no load): 30–50°C is healthy
Light workloads (browsing, documents): 50–65°C is normal
Heavy workloads (gaming, video rendering): 70–85°C is acceptable
Above 90°C: Danger zone — thermal throttling kicks in and hardware risk increases
Above 100°C: Critical — immediate shutdown risk and potential permanent damage
You can check your CPU temperature right now using the wmic command in Command Prompt:
```
wmic /namespace:\\root\wmi PATH MSAcpi_ThermalZoneTemperature get CurrentTemperature
```
Divide the result by 10 and subtract 273.15 to convert from tenths of Kelvin to Celsius. For a more user-friendly reading, tools like **HWMonitor** or **Core Temp** display real-time temperatures per core.
Step 1: Clean Your PC's Cooling System
Dust is the number-one enemy of CPU cooling. Over time, dust accumulates on heatsink fins, fan blades, and intake vents, dramatically reducing airflow. A clogged heatsink can raise CPU temperatures by 15–25°C compared to a clean one.
**How to clean your cooling system:**
Shut down your PC and unplug it from the wall
Open the case and locate the CPU cooler
Use **compressed air** in short bursts to blow dust off the heatsink fins — hold the fan blades still to prevent spin damage
Wipe fan blades with a dry microfiber cloth
Clean intake and exhaust vents on the case exterior
Reassemble and power on
For laptops, cleaning the exhaust vents with compressed air every 3–6 months makes a significant difference. If you're comfortable disassembling the laptop, cleaning the internal fan and heatsink is even more effective.
Step 2: Replace Thermal Paste
**Thermal paste** (also called thermal compound) fills microscopic gaps between the CPU die and the heatsink base, dramatically improving heat transfer. Over time — typically 3–5 years — thermal paste dries out and loses effectiveness, causing temperatures to creep upward.
Replacing thermal paste is one of the highest-impact, lowest-cost cooling improvements you can make:
Remove the CPU cooler (consult your motherboard manual for the correct procedure)
Clean old paste from both the CPU and heatsink using **isopropyl alcohol (90%+)** and a lint-free cloth
Apply a **pea-sized dot** of quality thermal paste (Arctic MX-4, Noctua NT-H1, or similar) to the center of the CPU
Reinstall the cooler — the paste will spread evenly under pressure
After repasting, many users report temperature drops of 10–20°C, which can completely eliminate thermal throttling on older systems.
Step 3: Optimize Case Airflow
Even with a clean cooler and fresh thermal paste, poor case airflow can trap heat inside your system. Proper airflow follows a simple principle: **cool air in from the front/bottom, hot air out from the rear/top**.
**Airflow optimization tips:**
Intake fans should be positioned at the front and bottom of the case, pulling cool air in
Exhaust fans should be at the rear and top, pushing hot air out
Ensure all unused drive bays and expansion slots have covers installed to prevent air recirculation
Route cables away from airflow paths — use **cable management** to keep the interior tidy
If your case has dust filters, clean them monthly
Adding a single 120mm or 140mm case fan in the right position can reduce CPU temperatures by 5–10°C at minimal cost.
Step 4: Adjust Windows Power Settings
Windows power plans directly affect how hard your CPU works — and how hot it runs. The **High Performance** plan keeps the processor at maximum clock speed even at idle, generating unnecessary heat.
Switch to **Balanced** mode for everyday use:
Open **Control Panel → Power Options**
Select **Balanced (recommended)**
Click **Change plan settings → Change advanced power settings**
Under **Processor power management**, set **Maximum processor state** to **99%** — this prevents the CPU from boosting to its absolute maximum, reducing heat without noticeable performance loss
You can also use PowerShell to check your current power plan:
```powershell
Get-WmiObject -Namespace root\cimv2\power -Class Win32_PowerPlan | Where-Object { $_.IsActive -eq $true } | Select-Object ElementName
```
Step 5: Upgrade Your CPU Cooler
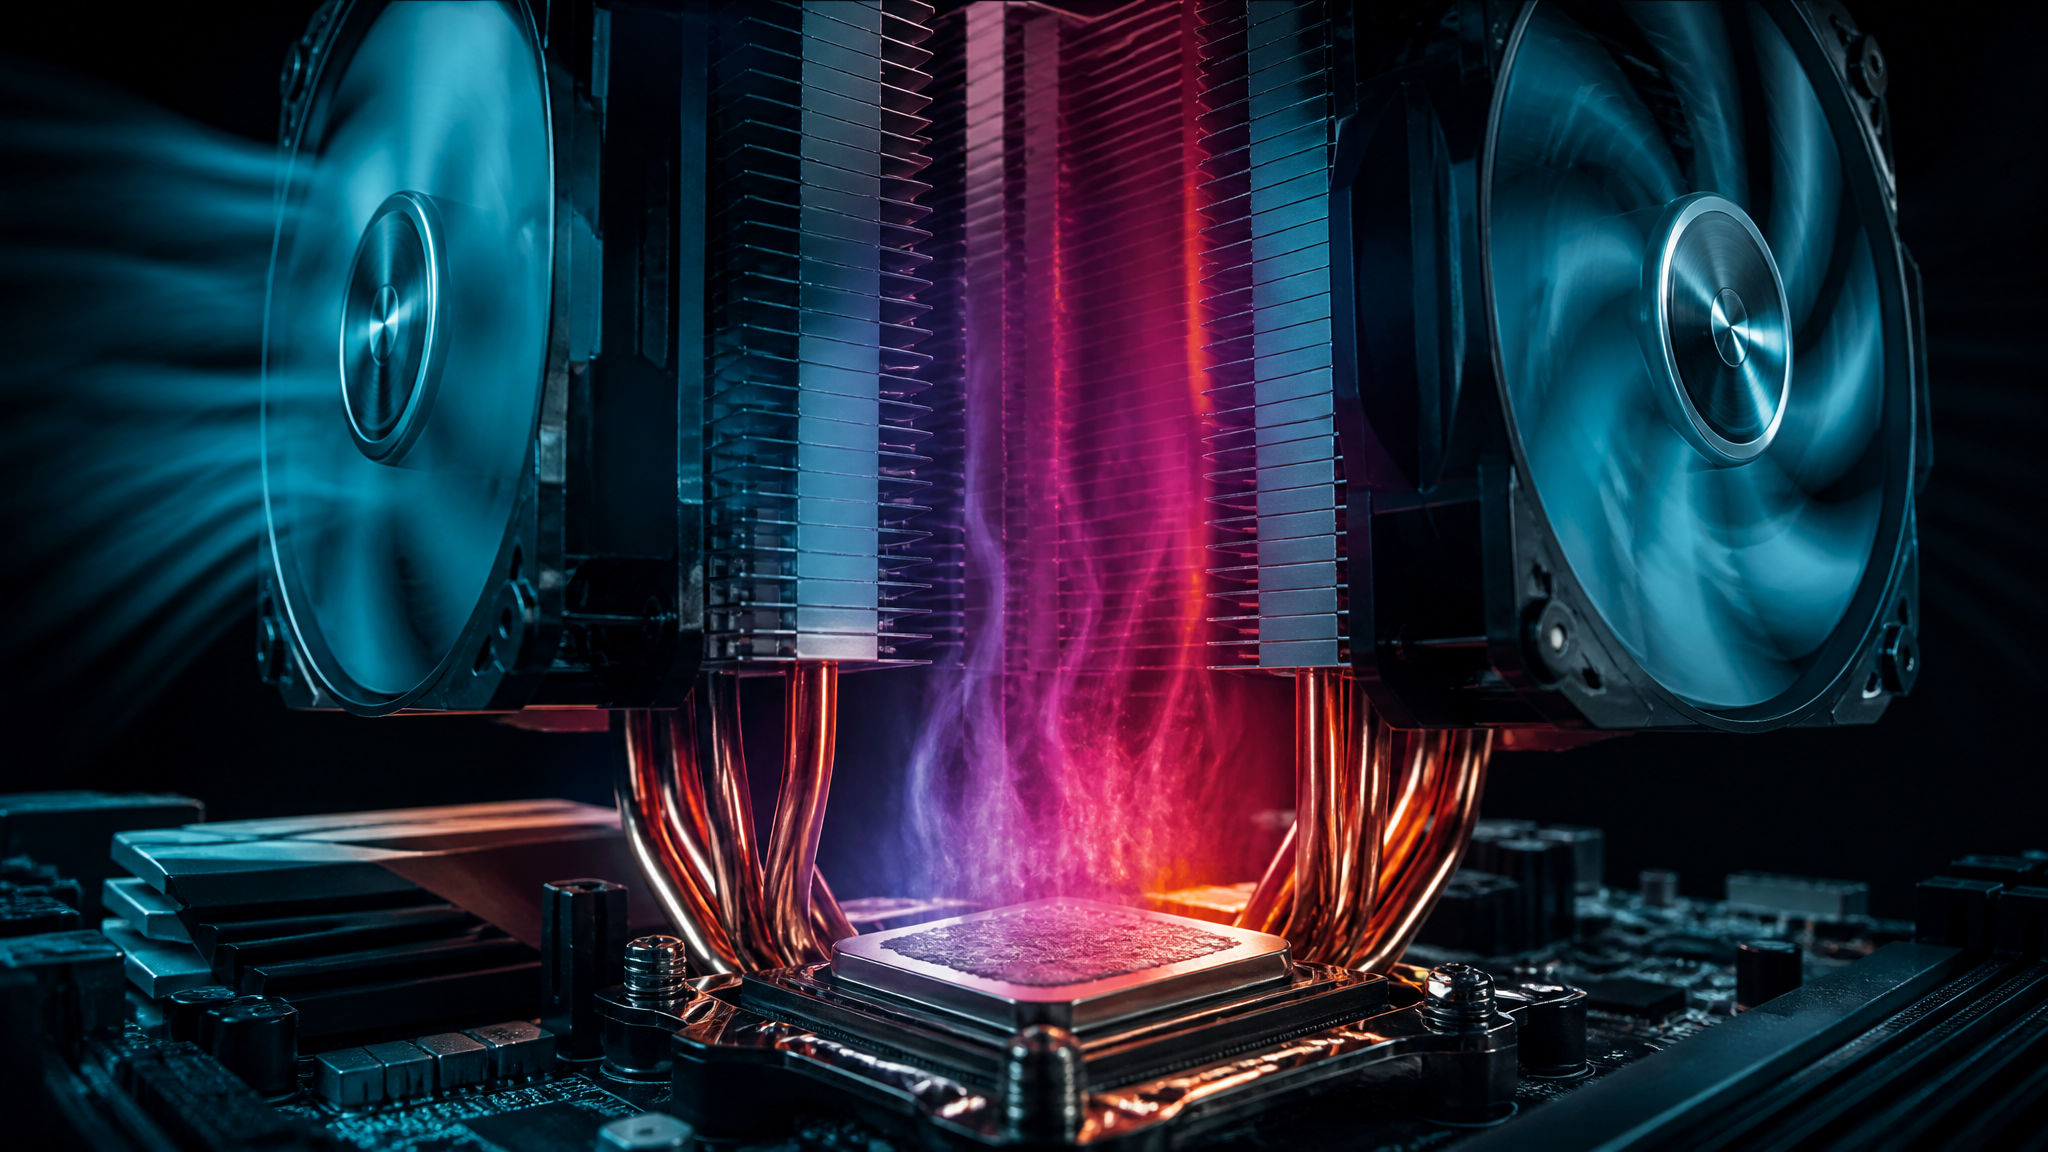
If your CPU came with a stock cooler — the basic heatsink-and-fan included in the box — upgrading to an aftermarket cooler is the single most effective hardware change for reducing temperatures.
**Cooler types to consider:**
Tower air coolers (e.g., Noctua NH-D15, be quiet! Dark Rock Pro): Excellent performance, quiet operation, no maintenance
All-in-one liquid coolers (AIO) (e.g., Corsair H100i, NZXT Kraken): Superior cooling for high-TDP processors, ideal for overclocked systems
Low-profile coolers: Designed for compact cases where tower coolers won't fit
For most users, a quality tower air cooler in the $40–$80 range delivers dramatic temperature reductions — often 20–30°C lower than stock coolers under load.
Monitoring and Diagnosing Overheating Issues
Identifying the root cause of high temperatures requires systematic monitoring. The **PC Diagnostic Analyzer** is purpose-built for exactly this kind of investigation — it scans your system's hardware health data, flags thermal warnings, and pinpoints whether the issue stems from software (background processes driving CPU load) or hardware (cooling system failure).
Running a diagnostic with **PC Diagnostic Analyzer** takes just minutes and produces a detailed report showing:
Current and peak CPU temperatures
Background processes consuming excessive CPU resources
Fan speed readings and anomalies
System event logs related to thermal shutdowns
This data-driven approach eliminates guesswork and helps you prioritize which fix will have the greatest impact on your specific system.
Take Control of Your PC's Health Today
Overheating is a silent performance killer — it throttles your CPU, shortens component lifespan, and causes frustrating crashes. The good news is that most overheating problems are entirely fixable with the steps outlined above, often at little or no cost.
Don't wait for a thermal shutdown to take action. Use **PC Diagnostic Analyzer** to get a complete picture of your system's thermal health right now. The free diagnostic scan identifies overheating risks, excessive CPU load, and cooling inefficiencies in minutes — giving you the actionable data you need to keep your PC running cool, fast, and reliably for years to come. Try it free at diagnosemypc.com and stop letting heat hold your performance back.
Found this helpful?
Share it with someone who could use it.
DiagnoseMyPC Team
Expert PC diagnostics and troubleshooting guides to help you keep your Windows system running smoothly.
Frequently Asked Questions
Why is my PC still slow after I cleaned it up?
Generic cleanup often misses the real bottleneck — a background process pinning your disk, a driver conflict, or low available RAM. An AI diagnosis reads your actual system data to pinpoint what's actually slowing you down instead of deleting files at random. Run a free scan at diagnosemypc.com.
Will adding more RAM speed up my computer?
It helps if you're regularly running out of memory (high RAM usage, lots of open tabs or apps). But if the bottleneck is a slow hard drive, a startup bloat problem, or a background process, more RAM won't fix it. Diagnose first, then upgrade.
How often should I check my PC's performance?
A quick monthly check is enough for most people, plus a scan any time you notice new slowdowns, crashes, or after a big Windows update. Catching issues early keeps small problems from turning into crashes or data loss.
Is a free performance scan actually useful?
Yes — a free AI scan gives you a real, prioritized list of what's wrong with your system. For one-click fix scripts and detailed step-by-step guides, there's an affordable $4.99 Fix Pass, but the diagnosis itself is free.