How to Improve Windows 11 Gaming Performance on Your PC
Gaming on Windows 11 should be a smooth, immersive experience — but for many players, lag spikes, stuttering, and disappointing frame rates get in the way. Whether you're playing the latest AAA titles or competitive multiplayer games, your PC's performance directly impacts your enjoyment and results. The good news is that Windows 11 includes several built-in tools and settings designed to maximize gaming performance, and a few targeted tweaks can make a dramatic difference.
In this guide, we'll walk through the most effective ways to boost gaming performance on Windows 11, from enabling Game Mode to optimizing your GPU settings and beyond. And if you're not sure what's holding your system back, **PC Diagnostic Analyzer** can help you identify hardware bottlenecks before you start tweaking.
Having this problem on your own PC?
Describe what's happening and get a real AI diagnosis in seconds — no account needed.
Enable Windows 11 Game Mode
Windows 11 includes a dedicated **Game Mode** that prioritizes system resources for your active game, reducing background activity and improving frame consistency.
To enable Game Mode:
Open **Settings** → **Gaming** → **Game Mode**
Toggle **Game Mode** to **On**
Game Mode tells Windows to dedicate more CPU and GPU resources to your game and suppress background tasks like Windows Update installations during gameplay. It's a simple first step that can noticeably reduce stuttering.
Also Enable Hardware-Accelerated GPU Scheduling (HAGS)
**Hardware-Accelerated GPU Scheduling** (HAGS) reduces latency by allowing the GPU to manage its own memory more directly, bypassing the CPU for certain scheduling tasks.
To enable HAGS:
Go to **Settings** → **System** → **Display** → **Graphics**
Click **Change default graphics settings**
Toggle **Hardware-accelerated GPU scheduling** to **On**
Restart your PC
> Note: HAGS requires a compatible GPU (NVIDIA RTX 10-series or newer, AMD RX 5000-series or newer) and an up-to-date driver.
Optimize Your Power Plan for Gaming
Windows 11 defaults to a **Balanced** power plan that throttles CPU performance to save energy. For gaming, switch to **High Performance** or the hidden **Ultimate Performance** plan.
To activate Ultimate Performance via PowerShell:
```powershell
powercfg -duplicatescheme e9a42b02-d5df-448d-aa00-03f14749eb61
```
Then open **Control Panel** → **Power Options** and select **Ultimate Performance** from the list. This plan keeps your CPU running at full speed, eliminating the micro-stutters caused by power-state transitions during intense gaming sessions.
Update and Optimize Your GPU Drivers
Outdated or corrupt GPU drivers are one of the most common causes of poor gaming performance, crashes, and graphical glitches. Always keep your drivers current:
NVIDIA: Use **GeForce Experience** or download directly from [nvidia.com](https://www.nvidia.com/drivers)
AMD: Use **AMD Software: Adrenalin Edition** or download from [amd.com](https://www.amd.com/support)
Intel Arc: Use **Intel Arc Control** or the Intel Driver & Support Assistant
After updating, use your GPU's control panel to set the **Power Management Mode** to **Prefer Maximum Performance** and disable **Vertical Sync (VSync)** unless you need it to prevent screen tearing.
Adjust In-Game and Windows Graphics Settings
Not all performance gains come from system settings — your in-game graphics configuration matters enormously:
Resolution Scaling: Use **DLSS** (NVIDIA), **FSR** (AMD), or **XeSS** (Intel) to render at a lower resolution and upscale, dramatically improving frame rates with minimal visual quality loss
Shadow Quality: Reduce from Ultra to High or Medium — shadows are GPU-intensive
Anti-Aliasing: Switch from MSAA to TAA or use your GPU's upscaling AA instead
V-Sync: Disable in-game and use **G-Sync** or **FreeSync** at the monitor level instead
For Windows-level graphics settings, navigate to **Settings** → **System** → **Display** → **Graphics**, add your game executable, and set it to **High Performance** to ensure it always uses your dedicated GPU.
Free Up System Resources Before Gaming
Background processes consume RAM and CPU cycles that your game needs. Before launching a demanding title:
Press `Ctrl + Shift + Esc` to open **Task Manager** and end non-essential processes
Disable startup programs: **Task Manager** → **Startup apps** → disable anything unnecessary
Close browser tabs, streaming apps, and communication tools you don't need during play
Run `cleanmgr` (Disk Cleanup) to clear temporary files that can slow disk access
If your system consistently struggles with resource contention, **PC Diagnostic Analyzer** can run a full scan to identify which processes and hardware components are creating bottlenecks — giving you a clear picture of where to focus your optimization efforts.
Check and Optimize Your Storage for Faster Load Times
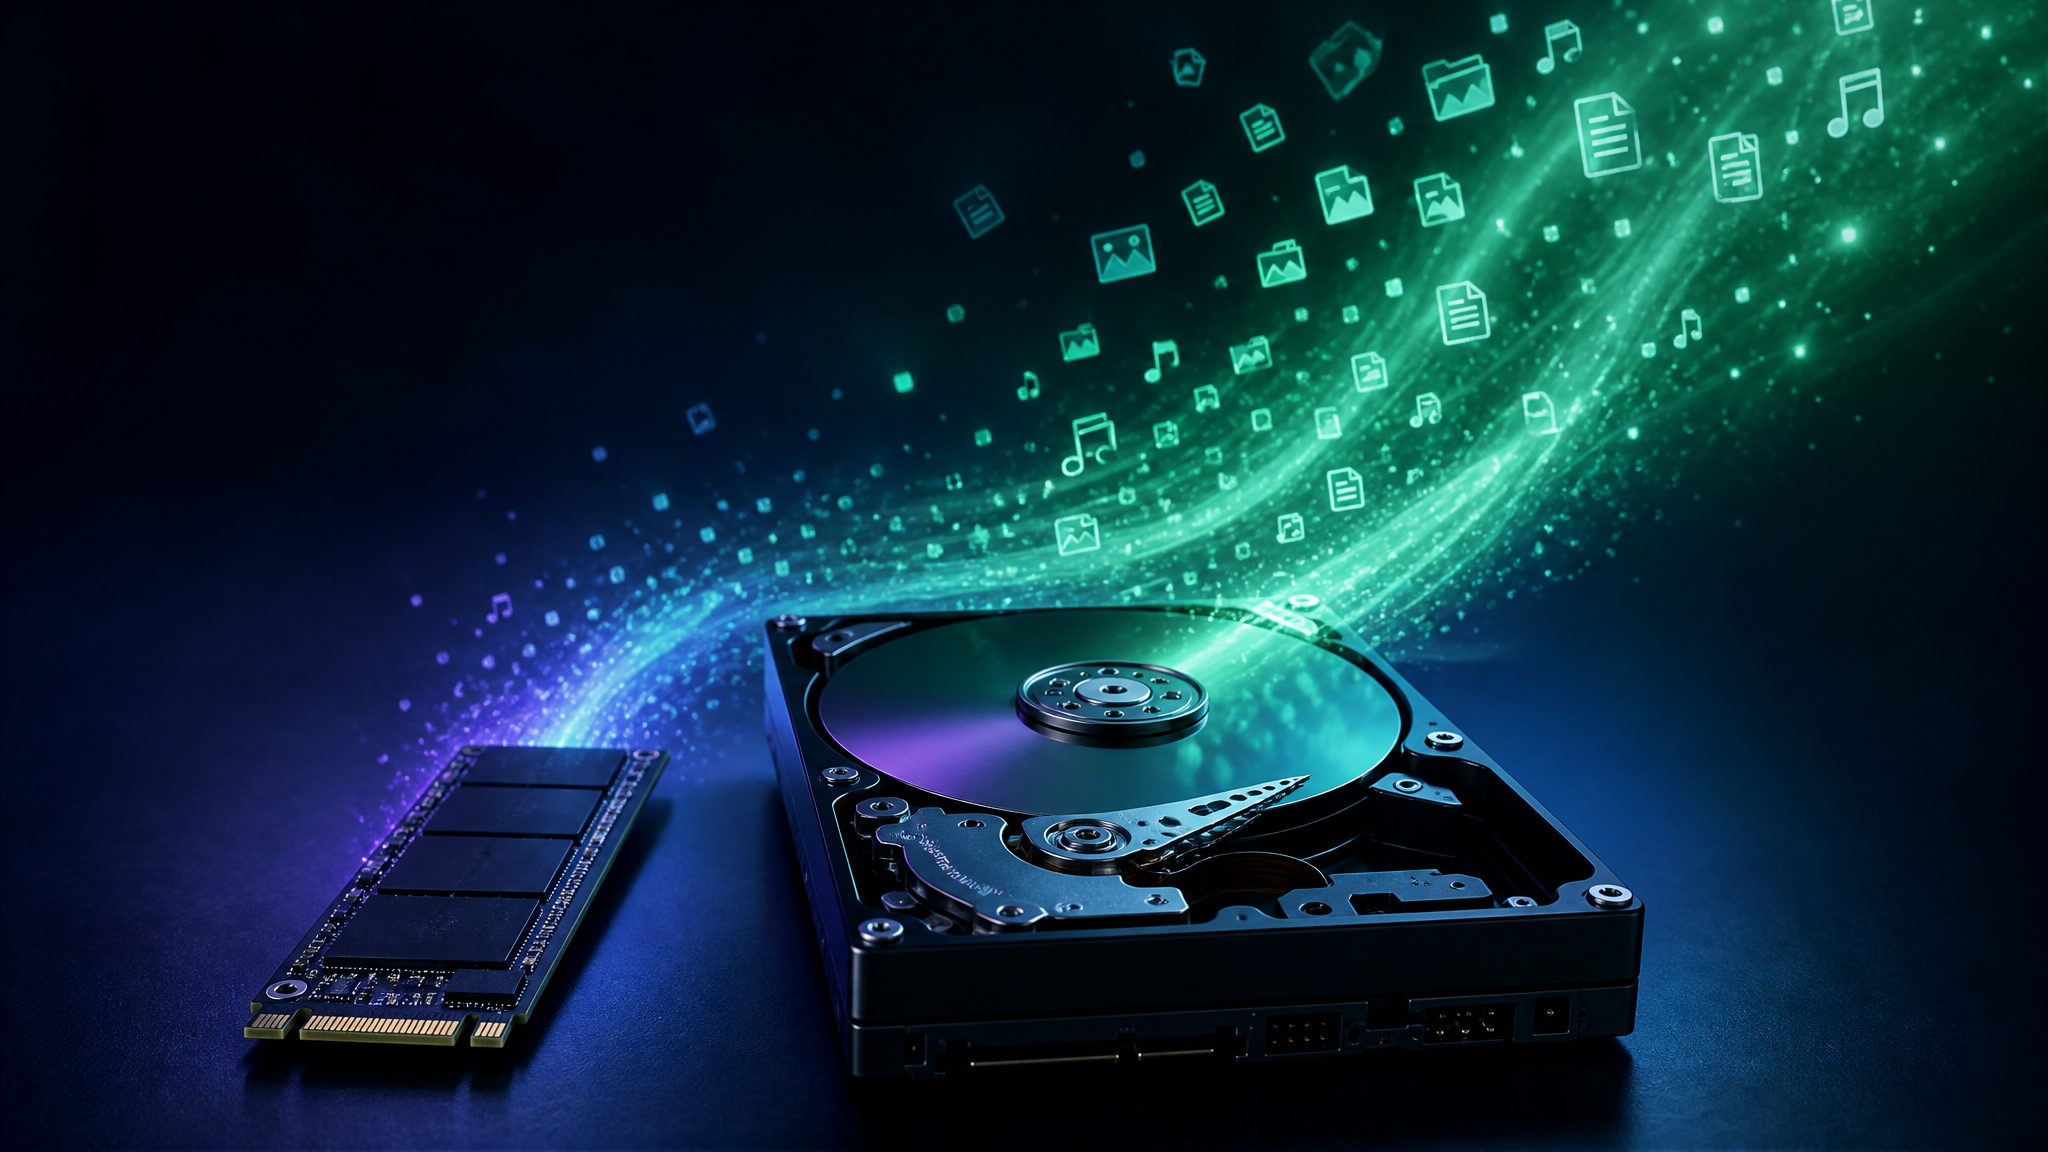
Game load times and open-world streaming performance depend heavily on your storage drive:
Ensure your game is installed on an SSD, not a mechanical HDD — the difference in load times can be 5-10x
Run `defrag C: /U /V` in an elevated Command Prompt to check your drive's optimization status (SSDs are TRIM-optimized automatically, not defragmented)
Check available free space — drives that are more than 85% full can slow down significantly. Keep at least 15-20% free
In **Windows Storage Spaces** or your SSD's manufacturer tool, verify the drive's health status
Monitor Temperatures and Throttling
Thermal throttling is a silent performance killer. When your CPU or GPU overheats, Windows automatically reduces their clock speeds to prevent damage — and your frame rates drop as a result.
Use free tools like **HWiNFO64** or **MSI Afterburner** to monitor temperatures while gaming:
CPU: Should stay below 90°C under load (ideally below 80°C)
GPU: Should stay below 85°C under load
If temperatures are too high:
Clean dust from your PC's fans, heatsinks, and vents
Reapply **thermal paste** to your CPU if it's more than 3-4 years old
Improve case airflow by adding intake/exhaust fans or reorganizing cables
Consider undervolting your GPU using **MSI Afterburner** to reduce heat without sacrificing performance
Enable Auto HDR and Variable Refresh Rate
Windows 11 introduced **Auto HDR**, which automatically adds HDR-like color enhancement to DirectX 11 and 12 games even if they weren't designed for HDR. If you have an HDR-capable monitor, enable it in **Settings** → **System** → **Display** → **HDR**.
Also ensure **Variable Refresh Rate (VRR)** is enabled if your monitor supports G-Sync or FreeSync — this eliminates screen tearing and reduces input lag without the frame-rate penalty of traditional V-Sync.
Run a Full Diagnostic Before Major Tweaks
Before diving deep into advanced settings, it's worth knowing your system's baseline health. **PC Diagnostic Analyzer** provides a comprehensive scan of your hardware — checking CPU performance, RAM health, storage integrity, GPU status, and more — so you can make informed decisions rather than guessing at the cause of poor performance.
A diagnostic report can reveal issues like failing RAM sticks, a degraded SSD, or a GPU running hotter than it should — problems that no amount of settings tweaking will fix without addressing the underlying hardware.
Start Gaming at Full Speed
Improving Windows 11 gaming performance doesn't require expensive hardware upgrades. By enabling Game Mode and HAGS, switching to a high-performance power plan, keeping GPU drivers current, optimizing in-game settings, and monitoring thermals, most players can achieve significantly smoother gameplay on their existing hardware.
Ready to find out exactly what's holding your PC back? Try **PC Diagnostic Analyzer** for free today and get a detailed report on your system's health and performance — so you can game with confidence.
Found this helpful?
Share it with someone who could use it.
DiagnoseMyPC Team
Expert PC diagnostics and troubleshooting guides to help you keep your Windows system running smoothly.
Frequently Asked Questions
Why is my PC still slow after I cleaned it up?
Generic cleanup often misses the real bottleneck — a background process pinning your disk, a driver conflict, or low available RAM. An AI diagnosis reads your actual system data to pinpoint what's actually slowing you down instead of deleting files at random. Run a free scan at diagnosemypc.com.
Will adding more RAM speed up my computer?
It helps if you're regularly running out of memory (high RAM usage, lots of open tabs or apps). But if the bottleneck is a slow hard drive, a startup bloat problem, or a background process, more RAM won't fix it. Diagnose first, then upgrade.
How often should I check my PC's performance?
A quick monthly check is enough for most people, plus a scan any time you notice new slowdowns, crashes, or after a big Windows update. Catching issues early keeps small problems from turning into crashes or data loss.
Is a free performance scan actually useful?
Yes — a free AI scan gives you a real, prioritized list of what's wrong with your system. For one-click fix scripts and detailed step-by-step guides, there's an affordable $4.99 Fix Pass, but the diagnosis itself is free.